Configuring Upload Types
Upload types define the categories of files that users can upload through the VOR Workbench. Each upload type appears as an option in the dropdown on the Uploads screen (e.g., macro-economic scenarios, portfolio data, transition matrices, model unit testing data).
Upload Type Fields
Each upload type is defined by the following fields:
| Field | Description |
|---|---|
type_cd |
Unique identifier (primary key) for the upload type (e.g., ME_SCEN). Maximum 32 characters. |
name |
Display name shown to users in the Uploads dropdown (e.g., "Macro Economic Scenarios"). Maximum 128 characters. |
upload_txt_search |
Legacy field. Must be unique in combination with type_cd. Maximum 32 characters. |
run_study_display |
If true, the upload type appears as a filter option on the Run Study Data tab. |
binary_only_upload |
If true, files are stored as binary blobs — upload preview and the info tab are disabled on the Uploads screen. |
info_tab_required |
If true and binary_only_upload is false, the UI requires users to fill out the info tab when uploading. |
upload_type_permission |
Optional. A foreign key to a Django permission that gates access to this specific upload type. See Per-Type Permission Gating. |
Creating Upload Types
Upload types can be created through the Administration UI or by loading fixture files.
Via the Administration UI
Open the Administration UI. In the Upload section, click Upload types, then click Add upload type. Fill in the fields and click Save. To restrict the upload type to specific users, see Per-Type Permission Gating.
Via Fixtures
Upload types can be defined as YAML fixture files and loaded during deployment or manually. Below is an example fixture that defines two upload types:
- model: upload.uploadtype
  pk: ME_SCEN
  fields:
    name: Macro Economic Scenarios
    upload_txt_search: Scenario
    processed: "2021-07-21 00:00:00+00:00"
    run_study_display: true
    binary_only_upload: false
    info_tab_required: false
    upload_type_permission: null
- model: upload.uploadtype
  pk: MODEL_UNIT
  fields:
    name: Model Unit Test Data
    upload_txt_search: model
    processed: "2021-07-21 00:00:00+00:00"
    run_study_display: false
    binary_only_upload: true
    info_tab_required: false
    upload_type_permission: null
To load a fixture manually, SSH into the Django server and run:
su - vrisk
export VOR_DJANGO_CONFIG=/opt/vor/etc/django/config.json
cd /opt/vor/django
venv/bin/python src/manage.py loaddata <fixture_file>
PostgreSQL Environments
If your installation uses PostgreSQL, you must also set the library path:
export LD_LIBRARY_PATH=/opt/vor/pgsql/lib
Loading Sample Upload Types During Deployment
VOR Stream ships with a sample fixture at django/fixtures/upload_type.yaml.
This fixture is not loaded by default. To include it during deployment, add
upload_type to the django_fixtures variable in your Ansible inventory file:
django_fixtures=auth filter_type script_syntax help_docs patch_notes upload_type
See the Inventory File
documentation for more details on the django_fixtures variable.
Per-Type Permission Gating
By default, any user with the Can view upload type permission can see all
upload types in the dropdown. To restrict a specific upload type to certain
users, you can link it to a Django permission using the upload_type_permission
field.
When an upload type has a permission assigned:
- Only users who have that permission (directly or through a group) will see the upload type in the dropdown.
- The permission codename is returned in the API response for each upload type, allowing the UI to filter the list accordingly.
Tip
Setting upload_type_permission to empty (null) means the upload type is
visible to all users who have access to the Uploads module.
Step 1: Create a Custom Permission
Open the Administration UI. In the Authentication and Authorization section, click Permissions, then click Add permission.
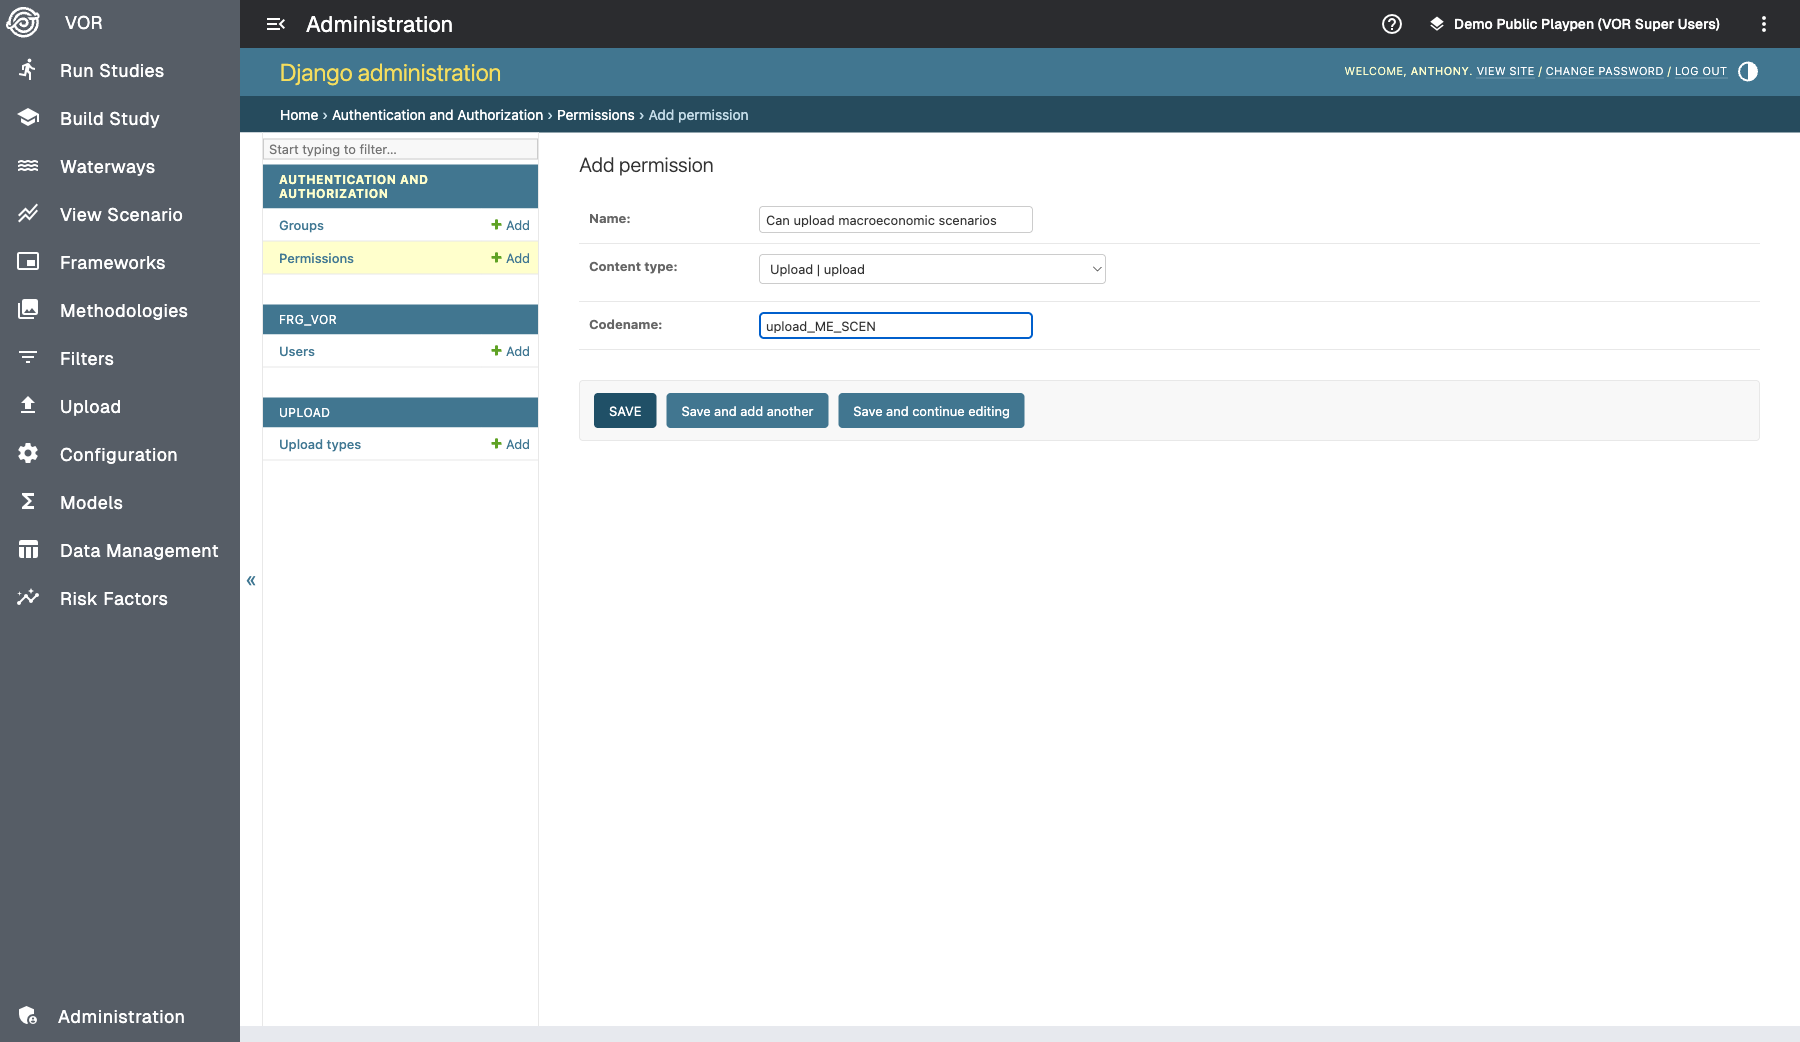
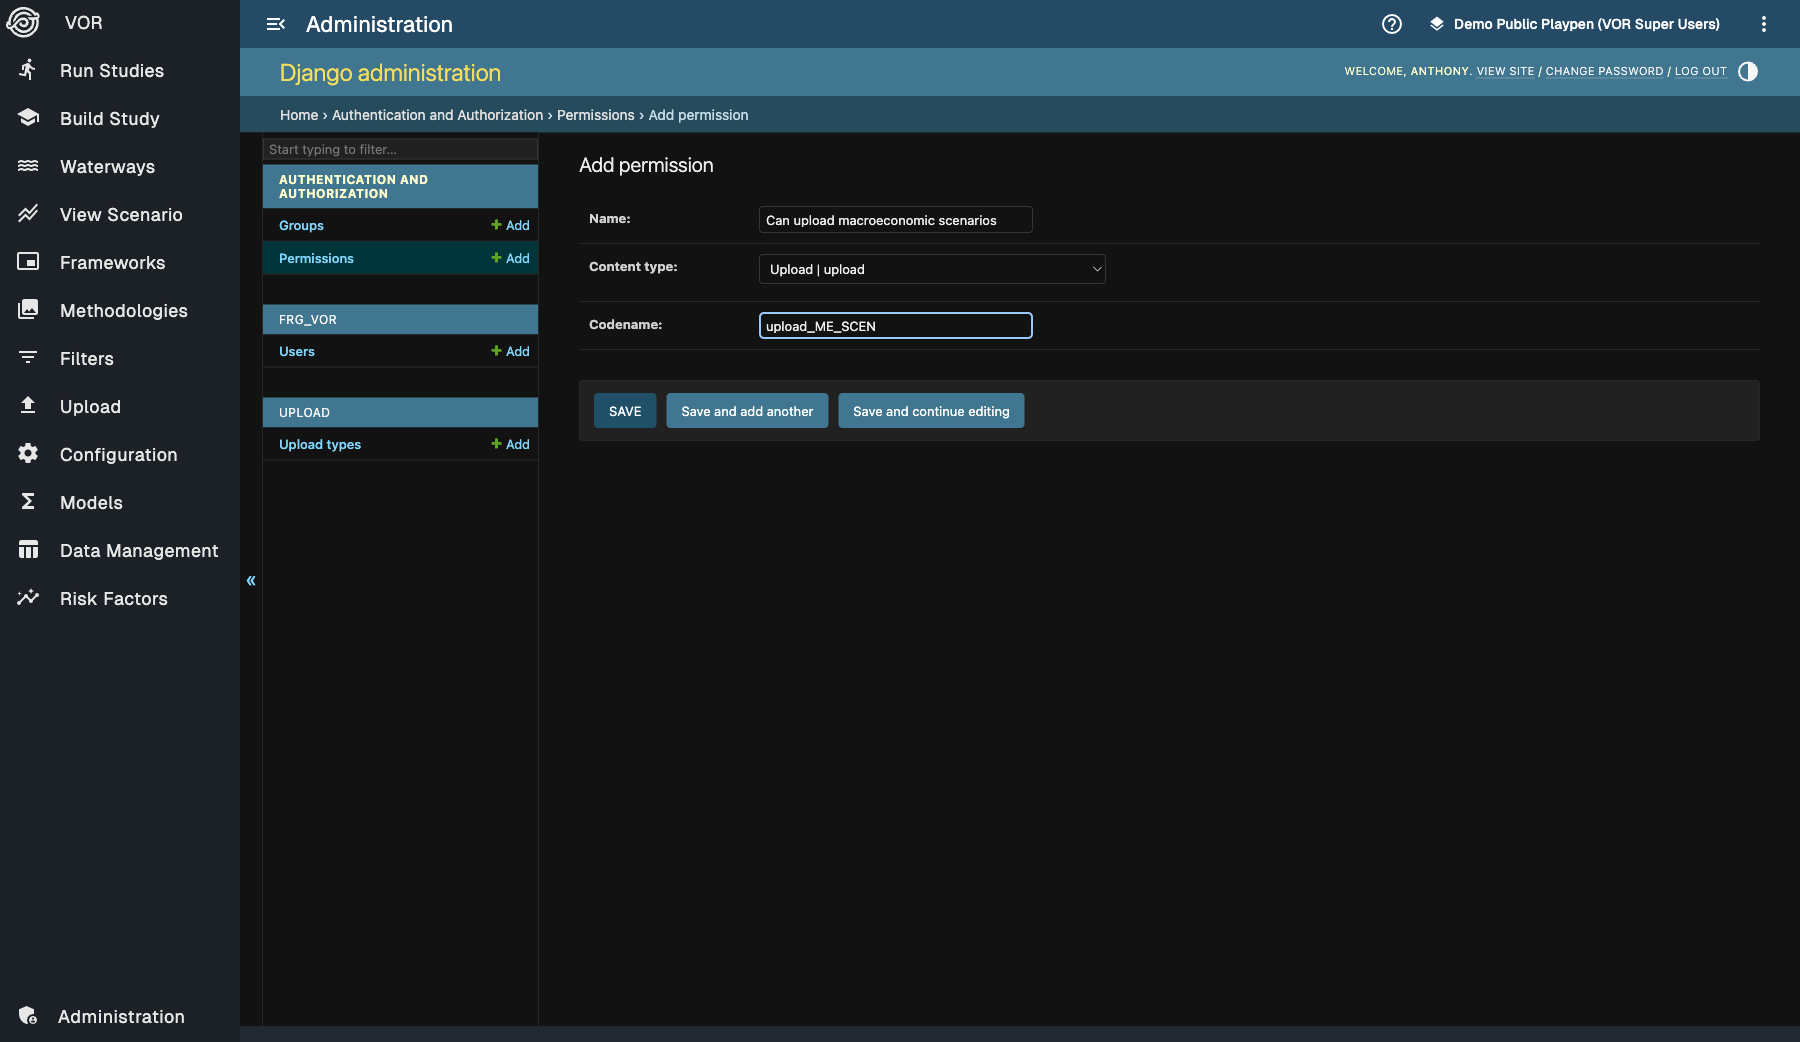
Fill in the following fields:
- Name: A human-readable description (e.g.,
Can upload macroeconomic scenarios). - Content type: Select
Upload | uploadfrom the dropdown. - Codename: A short, unique identifier (e.g.,
upload_ME_SCEN).
Click Save to create the permission.
Tip
You can use the search bar and the app label filter on the Permissions list to quickly find permissions you have created.
Step 2: Link the Permission to an Upload Type
In the Administration UI, navigate to Upload > Upload types and click the upload type you want to restrict. Select the permission you created in Step 1 from the Upload type permission dropdown, then click Save.
Warning
The + button next to the dropdown is not supported when the Administration UI is embedded in the VOR Workbench. Use Step 1 above to create permissions instead.
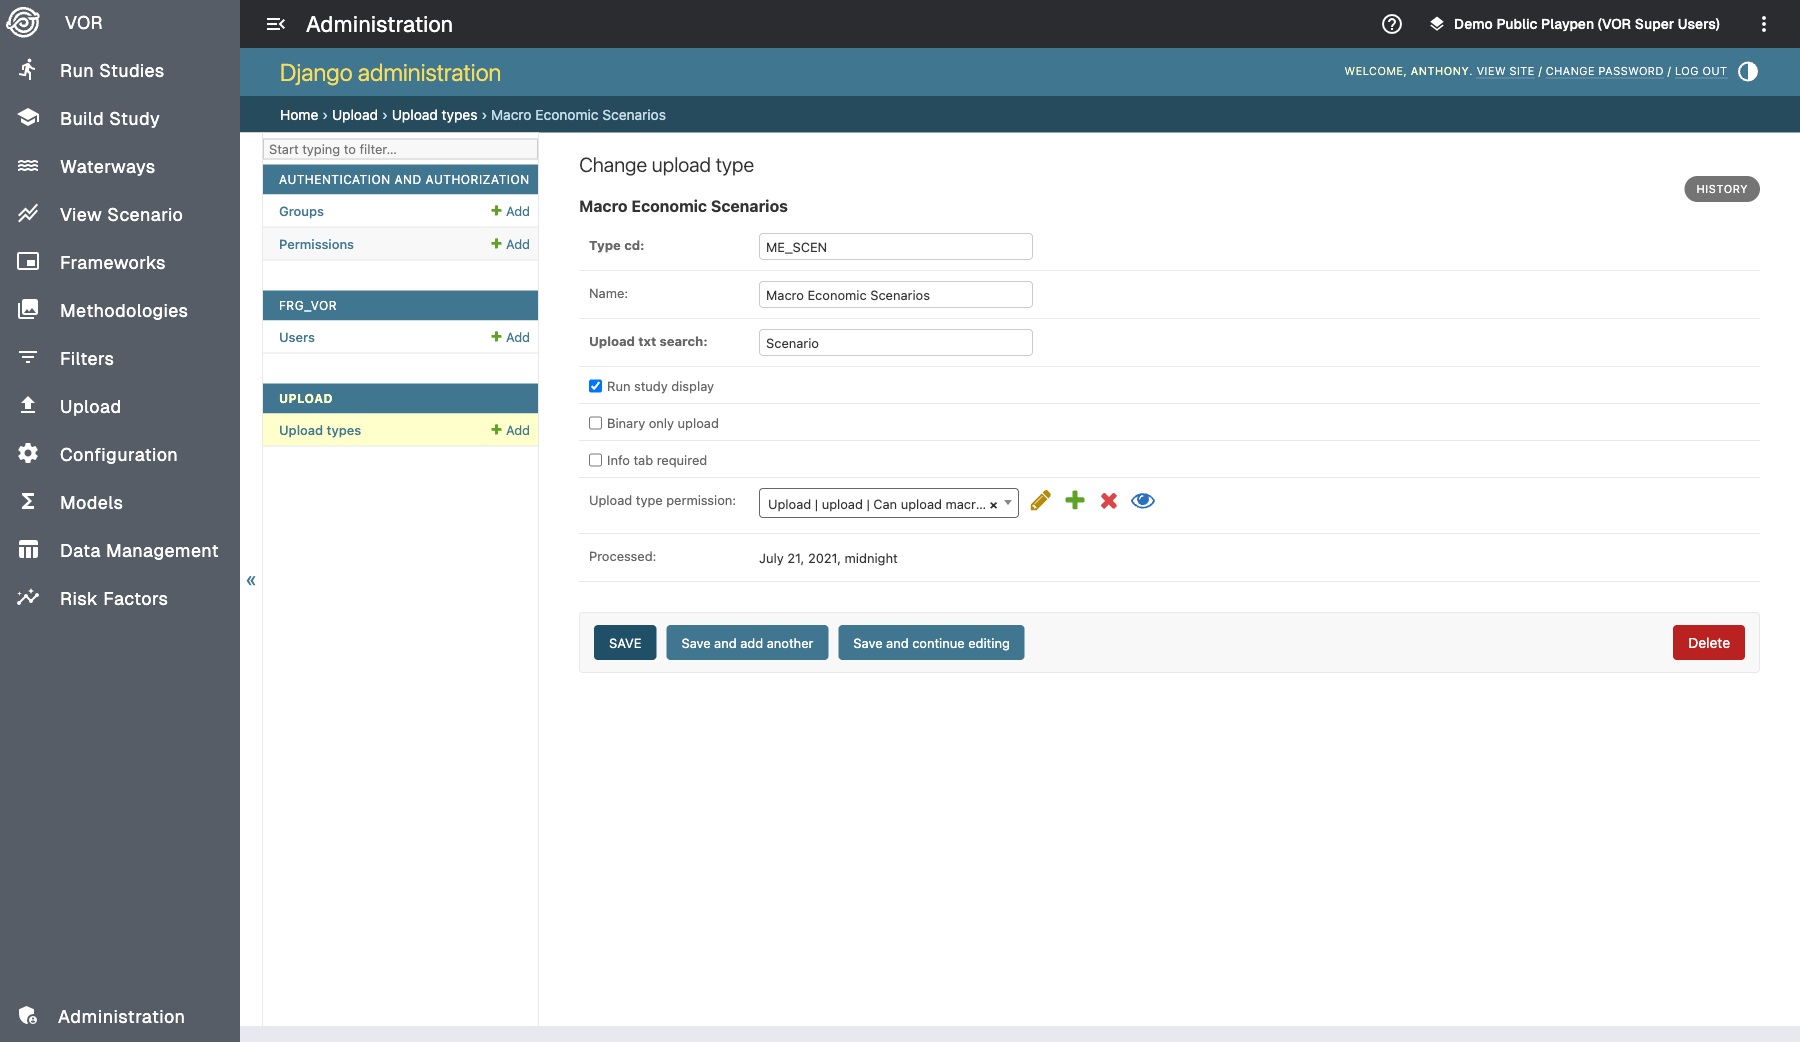
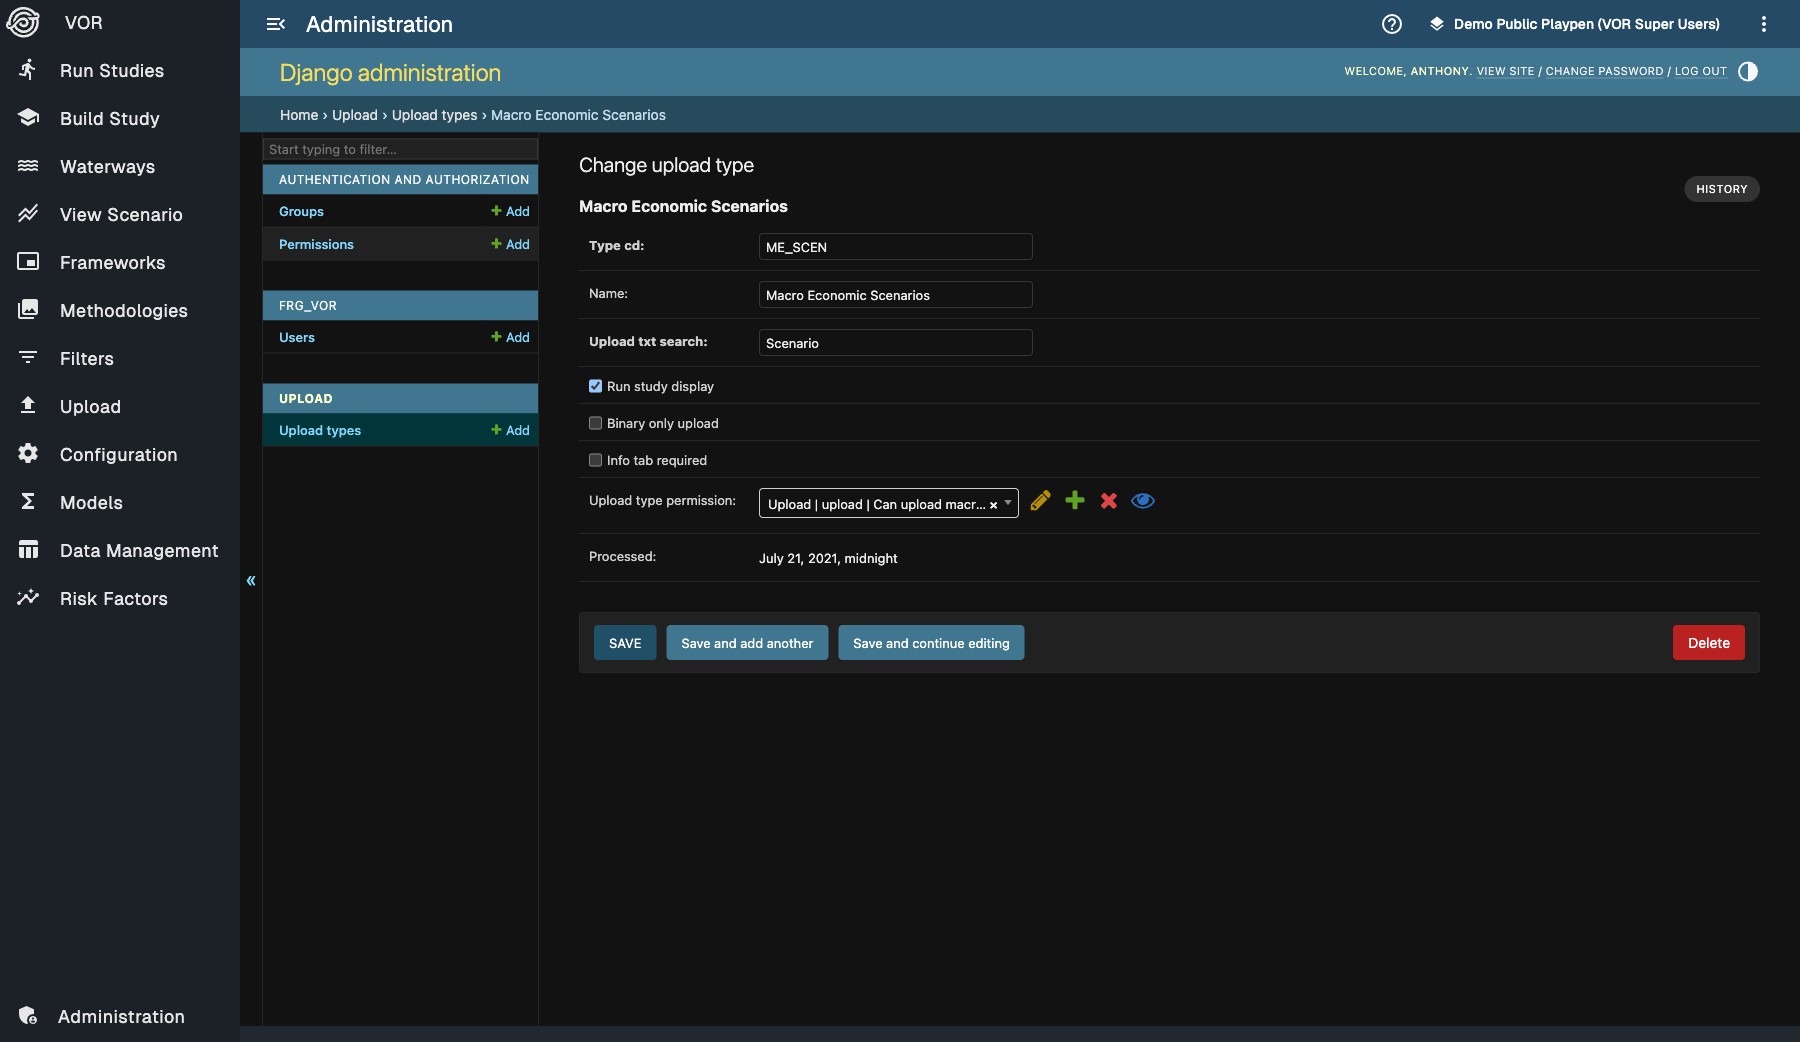
Alternatively, set the permission via a fixture:
- model: upload.uploadtype
  pk: ME_SCEN
  fields:
    name: Macro Economic Scenarios
    upload_txt_search: Scenario
    run_study_display: true
    binary_only_upload: false
    info_tab_required: false
    upload_type_permission:
      - upload_ME_SCEN
      - upload
      - upload
Step 3: Assign the Permission to User Groups
Edit the relevant group in the Administration UI. Add the new permission from the Available Permissions list to the Chosen Permissions list and click Save.
Playpen Scoping
Upload types can optionally be scoped to specific playpens using the Upload type x playpen association. This controls which upload types appear in the dropdown for users working in a particular playpen.
The scoping logic:
- If playpen-specific upload types exist for the user's current playpen, only those types are shown.
- If no playpen-specific upload types exist, all upload types that are not assigned to any playpen are shown instead.
To assign upload types to a playpen:
- In the Django Administration UI, navigate to Upload > Upload type x playpens.
- Click Add upload type x playpen.
- Select the upload type and the target playpen, then click Save.
This is useful in multi-tenant environments where different playpens serve different business functions and require distinct sets of upload types.
Custom Validation
Each upload type can have custom validation logic that runs automatically when a
user uploads a file. Validation rules are defined by creating a class named
<type_cd>_ValidationRule in the validation_overrides.py file.
For details on implementing custom validation, see Custom Upload Validation.
Required Permissions
Users need the following permissions to work with upload types. For the full permissions reference, see User Permissions & Groups.
-
View upload types
upload | upload type | Can view upload type -
Manage upload types
upload | upload type | Can add upload type upload | upload type | Can change upload type upload | upload type | Can delete upload type -
View playpen scoping
upload | upload type x playpen | Can view upload type x playpen -
Manage playpen scoping
upload | upload type x playpen | Can add upload type x playpen
upload | upload type x playpen | Can change upload type x playpen
upload | upload type x playpen | Can delete upload type x playpen
See also
- Uploads for the end-user upload experience.
- Custom Upload Validation for adding server-side validation.